
Dwart Industries · Settings Guide

3D Printing Settings Guide — Layer Height & Infill

This 3D printing settings guide covers the two parameters you configure on every order — layer height and infill density. Both settings directly affect surface quality, strength, print time, and cost. Therefore, choosing the right values before you upload is essential. Use the visual comparisons, the recommended settings for all 18 materials, and the quick-reference tables below to select the correct settings for your application. Furthermore, this guide covers both FDM and SLA manufacturing — use the toggle below to switch between them. To place an order, visit our FDM 3D printing service or SLA resin printing service. For background context, learn more about FDM layer-by-layer manufacturing.

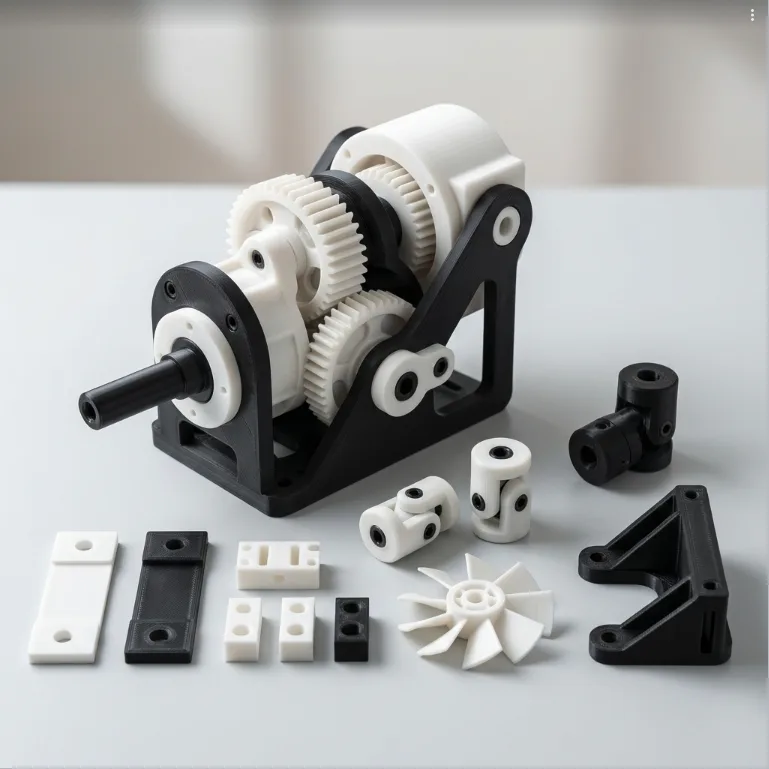
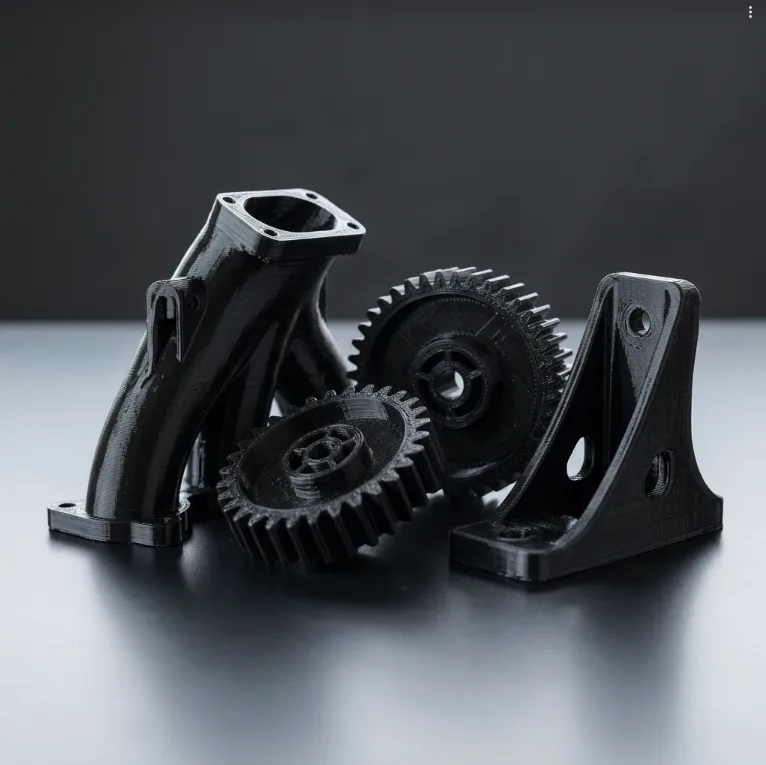
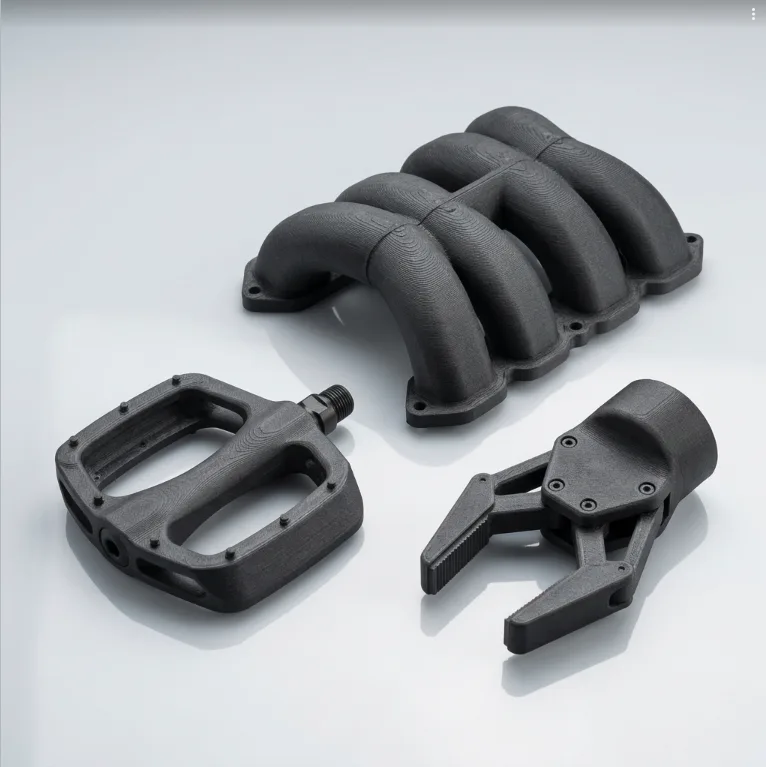
3D printing settings guide — Hyper ABS gear train and bracket assembly showing layer height and surface finish quality | Dwart Industries India
FDM · Layer Height

3D Printing Settings Guide — FDM Layer Height (0.05 mm to 0.24 mm)

Layer height controls surface smoothness and print time. In general, smaller layers produce finer finishes but consequently take longer to manufacture. All FDM prints use a 0.4 mm nozzle diameter. Click any image below to enlarge and compare the surface difference.

0.05mm super quality FDM layer height — near-invisible layer lines for precision manufacturing
0.05 mm
Super Quality
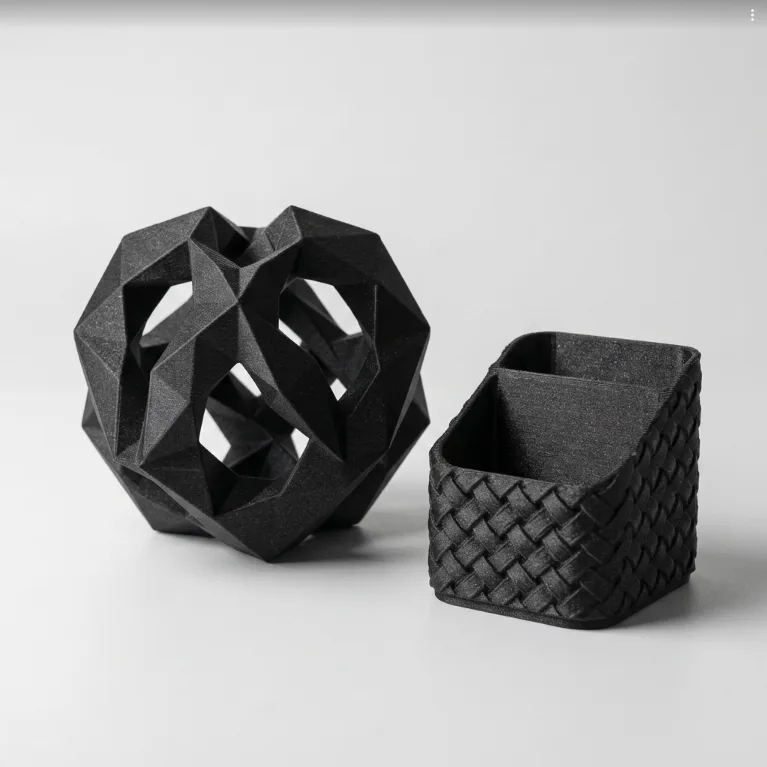
Near-invisible layer lines — the finest finish FDM can produce. Specifically, choose this for miniatures, fine text, jewellery casting masters, and display models where surface quality is the top priority.
Slowest · Highest Cost
0.1mm high quality FDM layer height — excellent detail and strength balance for engineering parts
0.1 mm
High Quality
Best balance of surface quality and print time. Recommended for engineering parts, enclosures, and structural components — specifically where both finish and strength are required.
Moderate · Mid Cost
0.15mm dynamic quality FDM layer height — optimised balance for functional manufacturing parts
0.15 mm
Dynamic Quality
Optimised for functional prototypes and mechanical assemblies. Moreover, the good surface finish at a faster manufacturing pace makes this a popular choice for most orders.
Balanced · Mid Cost
0.2mm standard quality FDM layer height — faster manufacturing for concept models and structural parts
0.2 mm
Standard Quality
Faster manufacturing for concept models, large structural parts, and draft iterations. Although layer lines are visible, dimensions remain accurate — good for internal or hidden components.
Fast · Economy
0.24mm low quality FDM layer height — fastest draft printing for non-cosmetic manufacturing parts
0.24 mm
Low Quality
Maximum speed for draft work. Suitable for internal fixtures and non-cosmetic structural parts — however, highly visible layer lines make this unsuitable for any surface-facing geometry.
Fastest · Most Economical

FDM · Infill Density

3D Printing Settings Guide — FDM Infill Density (5% to 100%)

Infill controls the internal structure of FDM parts. All FDM prints use Gyroid infill pattern for the best strength-to-weight ratio. As a result, higher infill delivers more strength — however, it also increases material use and print time.
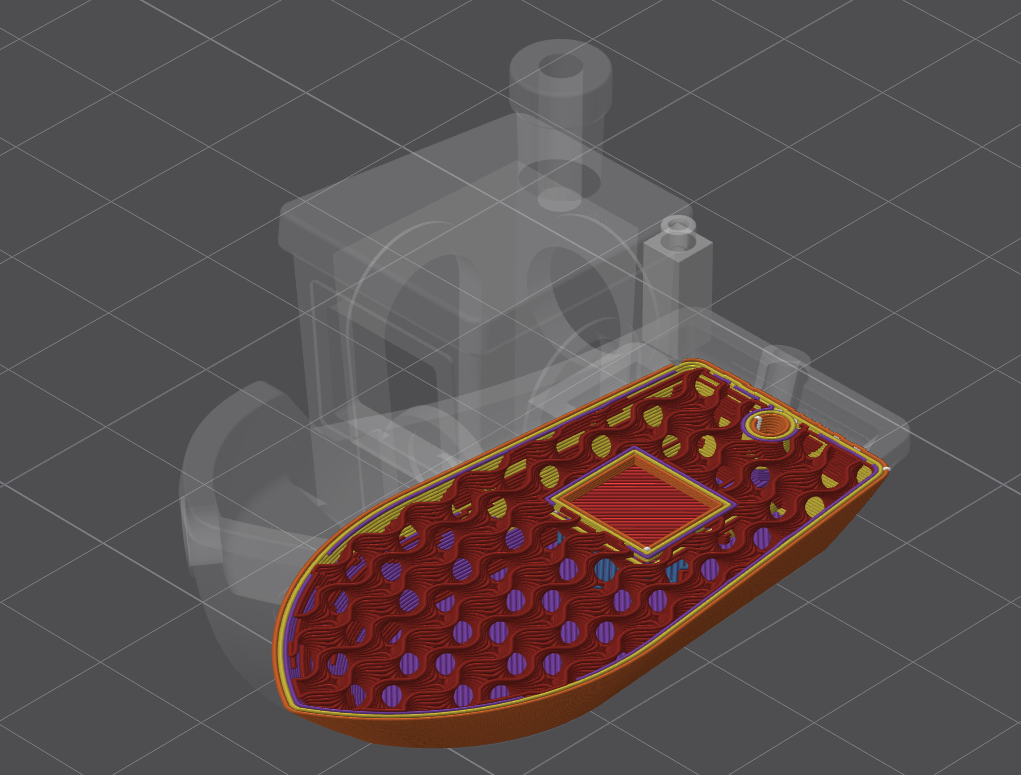
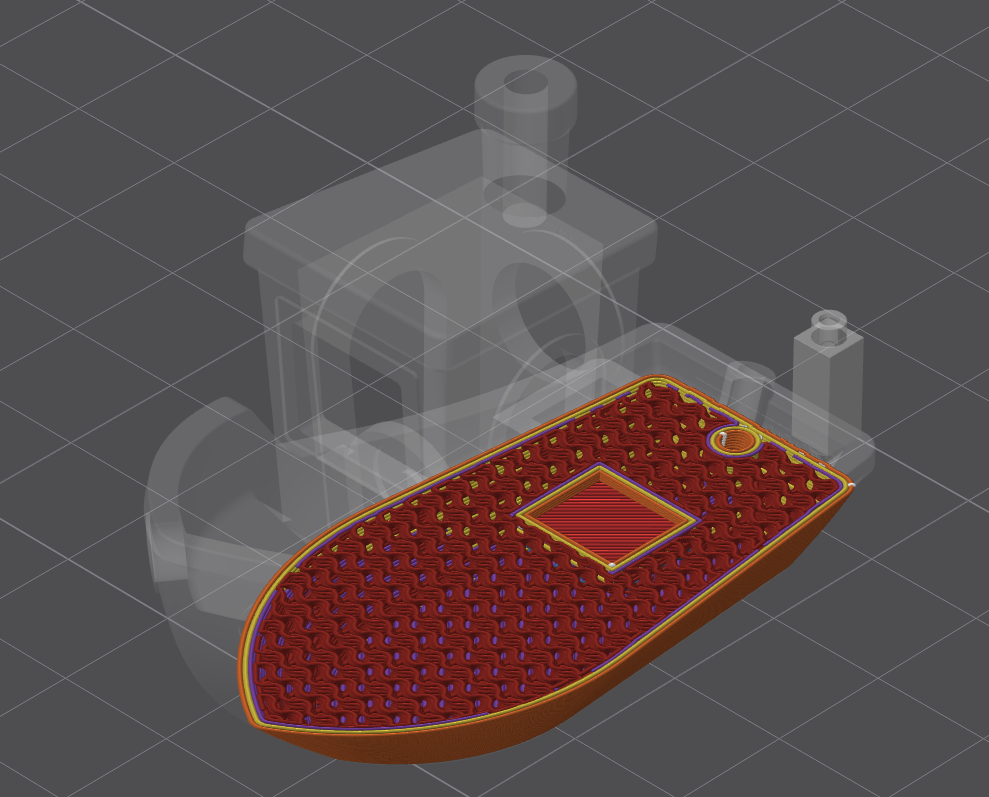
20% Gyroid infill density — lightweight FDM printing structure
20%
Light
Sparse Gyroid structure — therefore, weight, cost, and print time are all reduced significantly.
Decorative models, display parts, non-load-bearing prototypes
40% Gyroid infill density — standard FDM printing structure for functional parts
40%
Standard
Good everyday strength with balanced material usage and cost. Consequently, this is the most common infill choice for general orders.
Housings, enclosures, brackets, general mechanical parts
70% Gyroid infill density — high strength FDM printing structure for load-bearing parts
70%
Strong
Dense Gyroid lattice — as a result, high strength and impact resistance are achieved throughout the part.
Load-bearing parts, jigs, fixtures, structural frames
100% solid infill density — maximum strength FDM printing for critical structural components
100%
Solid
Fully solid interior — therefore, maximum strength, hardness, and heat resistance are achieved in all directions.
Critical connectors, heat-set inserts, high-stress structural components

FDM · Quick Reference

3D Printing Settings Guide — FDM Quick Reference by Application

Not sure which combination to use? Simply match your application to the recommended settings below. In addition, material links take you directly to each material guide page.

Application Layer Height Infill Recommended Material Notes
Display / Decorative Model 0.05 mm 15–20% Hyper PLA / PLA-CF Best surface finish. PLA-CF's matte finish hides layer lines. Light infill — no mechanical load.
Rapid Prototype / Draft 0.2 mm 20–40% ABS / PETG Fast turnaround. Visible layers acceptable.
Functional Enclosure / Housing 0.15 mm 40–60% PETG / ABS Good surface + sufficient wall strength. Popular
Engineering / Load-Bearing Part 0.1 mm 50–80% PA6-CF / Hyper ABS Max strength. Use 100% for critical connectors.
Stiff Structural / CF Look 0.15 mm 40–60% PETG-CF / PLA-CF Carbon fibre stiffness with a matte finish. No enclosure needed.
Flexible Part (Seal / Grip) 0.2 mm 20–40% TPU 95A Lower infill = more flexibility. Only FDM flexible option.
Outdoor / UV-Exposed Part 0.15–0.2 mm 40–60% ASA / PETG-CF ASA resists UV yellowing where ABS fails. Weatherproof
High-Temperature Part 0.1–0.15 mm 60–80% PA12-CF / PA6-CF / PC PA12-CF at 170°C HDT is our highest. Dense infill improves heat path.
Gears / Wear-Resistant Parts 0.15 mm 50–70% PA12 Nylon / PA6 Nylon Self-lubricating. PA12 stays stable in humid conditions.
Jig / Fixture / Tooling 0.15–0.2 mm 70–100% PA6 Nylon / PA6-CF Maximum structural integrity. Dimensional stability priority.
SLA · Layer Height

3D Printing Settings Guide — SLA Layer Height (0.05 mm and 0.1 mm)

SLA layer heights are all finer than FDM — in fact, even at 0.1 mm, SLA is smoother than FDM at 0.05 mm. Therefore, the difference between SLA quality levels is subtle. Choose based on required detail and delivery speed. Click either image to enlarge and compare.

0.05mm SLA resin layer height — highest precision for miniatures and detail manufacturing
0.05 mm
High Quality
Maximum SLA resolution — specifically for miniatures, intricate models, dental mockups, jewellery masters, and parts where absolute surface perfection is required.
Slowest · Highest Cost
0.1mm SLA resin layer height — dynamic quality for functional and display manufacturing
0.1 mm
Dynamic Quality
Excellent detail with faster turnaround. Consequently, this suits functional prototypes, enclosures, snap-fit assemblies, and detailed display models well.
Balanced · Faster

SLA · Infill

3D Printing Settings Guide — SLA Infill is Always 100% Solid

Unlike FDM, SLA parts are always printed fully solid. Consequently, there is no infill setting to configure. Resin cures as a monolithic solid, which ensures maximum strength and surface quality on all faces.

SLA parts are always 100% solid — no infill setting to configure
Resin photopolymer is UV-cured as a monolithic solid at every layer. This gives SLA parts isotropic strength on all surfaces, eliminates infill pattern visibility, and ensures the finest possible finish on every face. The only setting you configure for SLA is layer height.

SLA · Quick Reference

SLA Settings by Application

Choose your SLA layer height based on the required detail level and delivery speed.

Application Layer Height Resin Notes
Display / Visual Model 0.05 mm Standard Resin Maximum surface quality — near-invisible layer lines. Recommended
Functional Prototype 0.1 mm Tough Resin Impact resistant. Handles repeated loading, snap-fits, and assembly.
Optical / Clear Part 0.05 mm Clear Resin 92% light transmission. Finest layers for maximum clarity after polishing.
Rapid Concept Check 0.1 mm Standard Resin Faster delivery. Still smoother than any FDM layer height.
Snap-fit / Mechanical Assembly 0.05–0.1 mm Tough Resin 14–25% elongation — won't snap on assembly. Drillable and tappable.

All 18 Materials

Recommended Settings by Material — All 15 FDM Filaments & 3 SLA Resins

Already know your material? Find it below for the layer height and infill we recommend, along with its key properties. Every material links to its full guide. Use the filters to narrow the list.
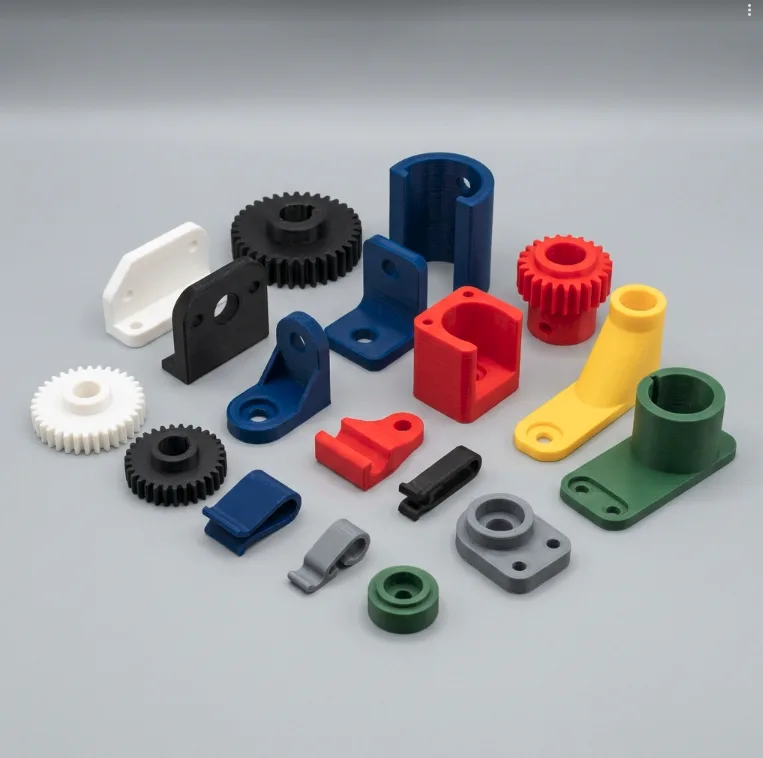
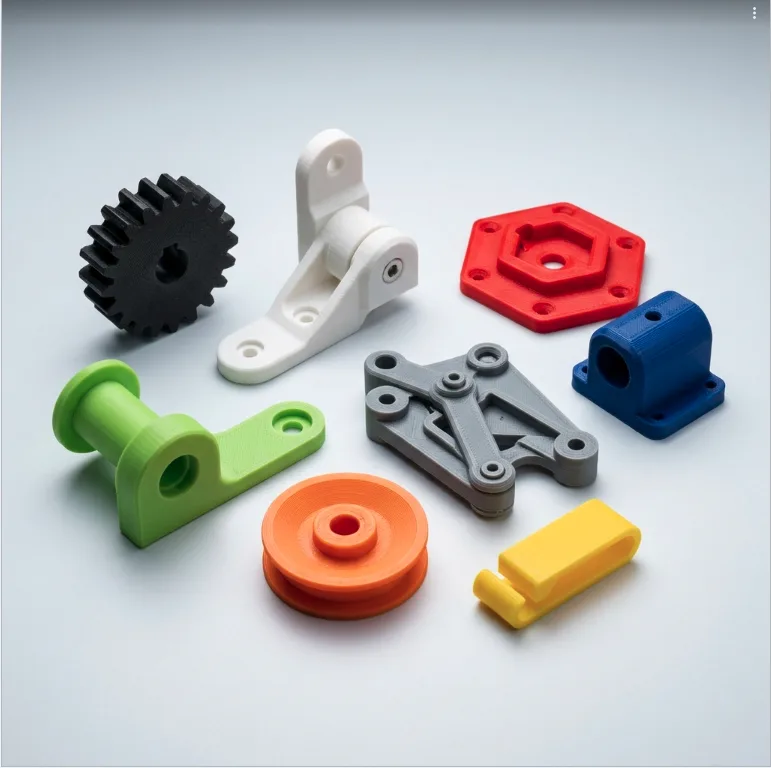
PLA 3D printed components in blue, red, green and whiteFDM
PLA
35 MPa54–60°C
Layer0.1–0.15 mm
Infill20–40%
Lowest cost, best detail. Not for heat or load.
Full Guide →
PLA Plus 3D printed spur gears and leversFDM
PLA+
46 MPa~60°C
Layer0.15 mm
Infill40%
Tougher than PLA. Good for handled prototypes.
Full Guide →
Hyper PLA 3D printed brackets and gear assemblyFDM
Hyper PLA
53 MPa~60°C
Layer0.05–0.1 mm
Infill20–40%
Best FDM surface finish. Strongest PLA grade.
Full Guide →
Black PLA carbon fibre 3D printed componentsFDM
PLA-CF
38 MPa~54°C
Layer0.15–0.2 mm
Infill30–50%
Matte CF finish hides layer lines — coarser layers still look good.
Full Guide →
PETG 3D printed gears, wheels and housingsFDM
PETG
34 MPa62°C
Layer0.15 mm
Infill40–60%
Chemical resistant, no warping. Great all-round functional choice.
Full Guide →
PETG-CF carbon fibre 3D printed brackets and mountsFDM
PETG-CF
35 MPa68°C
Layer0.15–0.2 mm
Infill40–60%
0.30% water absorption — lowest in our range. Stable in humidity.
Full Guide →
Flexible TPU 95A 3D printed coiled componentsFDM
TPU 95A
27 MPaFlexible
Layer0.2 mm
Infill20–40%
Lower infill gives more flex. Our only flexible FDM option.
Full Guide →
ABS 3D printed gear, bracket, pulley and bearing blockFDM
ABS
33 MPa84°C
Layer0.15–0.2 mm
Infill40%
Heat tolerant and acetone-smoothable for a moulded finish.
Full Guide →
Hyper ABS 3D printed gear train and bracket assemblyFDM
Hyper ABS
30 MPa76°C
Layer0.15 mm
Infill40–60%
Less warping than standard ABS. 19 kJ/m² impact strength.
Full Guide →
ASA UV resistant outdoor 3D printed partsFDM
ASA
37 MPa92°C
Layer0.15–0.2 mm
Infill40–60%
UV and weather resistant — the outdoor choice. Won't yellow.
Full Guide →
3D printed polycarbonate manifold, spur gears and gusseted L-bracketFDM
PC
55 MPa117°C
Layer0.1–0.15 mm
Infill60–80%
Maximum toughness with high heat resistance.
Full Guide →
PA6 nylon 3D printed compound gear and mounting bracketFDM
PA6 Nylon
75 MPa158°C
Layer0.15 mm
Infill50–80%
Industrial nylon for gears, bearings and wear parts.
Full Guide →
PA12 nylon 3D printed gear train with spur gears and rocker linksFDM
PA12 Nylon
51 MPa100°C
Layer0.15 mm
Infill50–70%
Self-lubricating with very low moisture pickup. Stable in humidity.
Full Guide →
PA6-CF 3D printed structural arm and mounting components in carbon fibre nylonFDM
PA6-CF
102 MPa164°C
Layer0.1–0.15 mm
Infill50–80%
Our strongest FDM material at 102 MPa tensile.
Full Guide →
PA12-CF 3D printed multi-arm structural frame in carbon fibre nylonFDM
PA12-CF
92 MPa170°C
Layer0.1–0.15 mm
Infill60–80%
Highest HDT in our FDM range. Holds strength even when wet.
Full Guide →
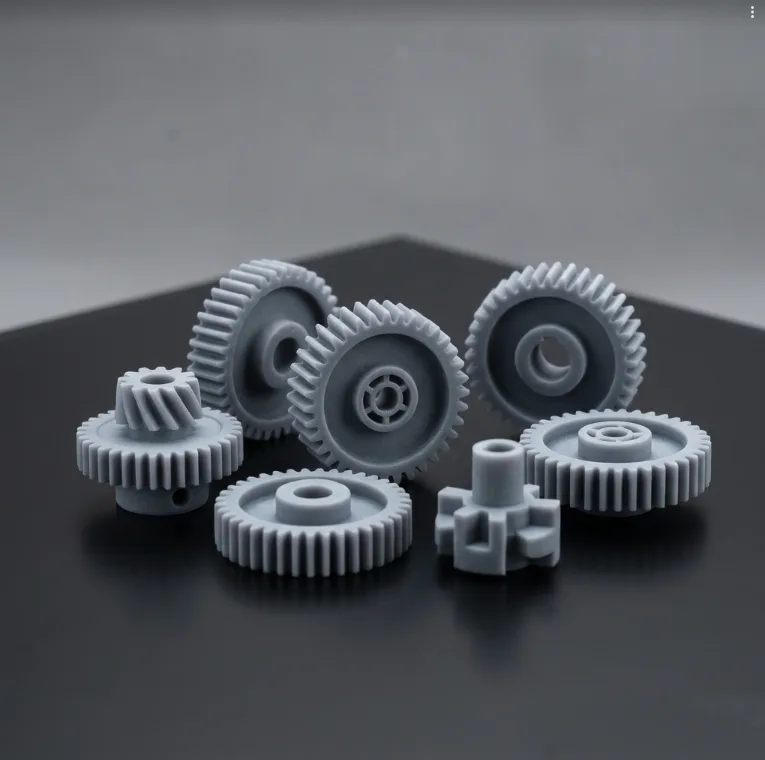
Grey resin 3D printed gears and mechanical components with smooth surfacesSLA
Standard Resin
36–53 MPaFine Detail
Layer0.05 mm
Infill100% Solid
Best surface detail we offer. Miniatures, dental, jewellery.
Full Guide →
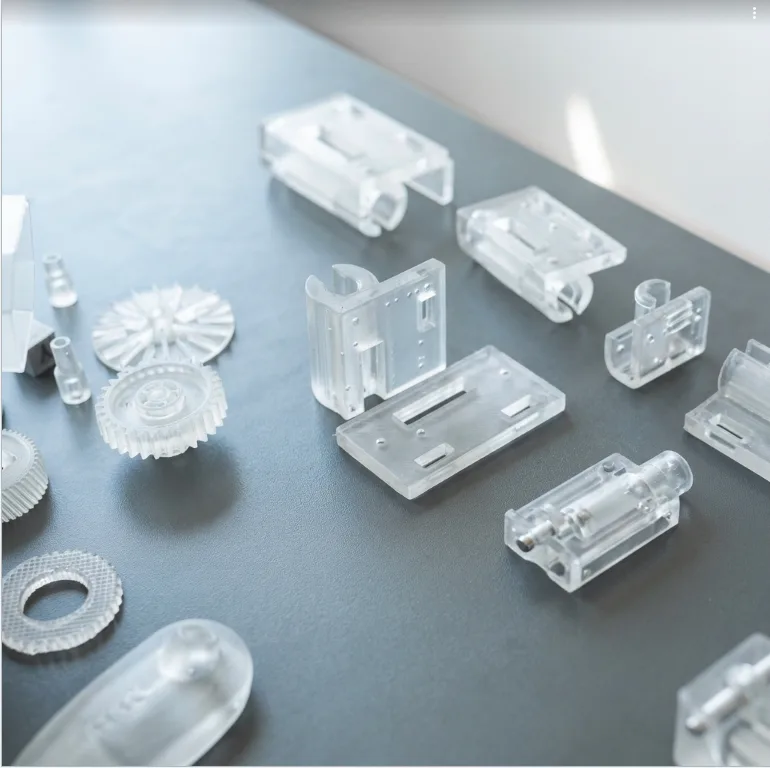
Translucent resin 3D printed components revealing internal geometrySLA
Clear Resin
28–38 MPa92% Light
Layer0.05 mm
Infill100% Solid
92% light transmission. Lenses, light guides, fluidics.
Full Guide →
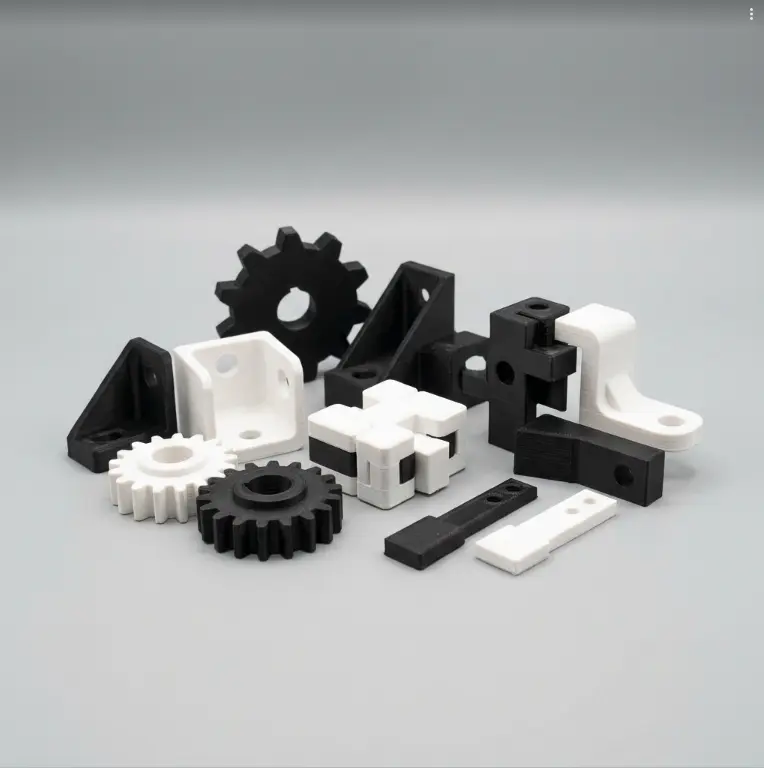
Black resin 3D printed mechanical parts and connectorsSLA
Tough Resin
36–53 MPa14–25% Elong.
Layer0.1 mm
Infill100% Solid
Impact resistant. Snap-fits, enclosures, functional parts.
Full Guide →

Our Production Team

What Our Team Handles — You Only Choose Settings from This 3D Printing Settings Guide

Every other technical parameter is optimised by our production engineers. Specifically, you do not need to configure temperatures, speeds, or support strategies — we handle all of that for you.

Print Temperature

Nozzle and bed temperatures are optimised per material on every print. As a result, no input is required from you — the correct profile is applied automatically.

Support Structures

Support generation and placement are automatically optimised for the best surface finish and easiest post-print removal.

Print Speed Calibration

Speed is automatically calibrated based on your layer height and material. Consequently, quality is maintained without any manual input from you.

Bed Leveling & Adhesion

LiDAR bed leveling (FDM) and build plate preparation (SLA) are handled on every order. As a result, warping risk is eliminated without any setup from you.

Ready to order? Use the Print Settings Assistant on the product page.
It recommends the right layer height, infill, and material based on your application — directly in the ordering flow. Simply select your use case and place your order.